Translate

Showing posts with label heat gun. Show all posts

Sunday, April 28, 2013

Building the Rocketeer Helmet - lenses

Update on the Rocketeer helmet project.  I have been really busy and it has been hard to work on some of my "fun" projects.  That being said, I did carve out a little bit of time to work on my Rocketeer helmet.  When we last left off it needed some lenses.

I have never put lenses in anything before, so I had a little trial and error process.

I first ordered some sample lens sheets from http://tapplastics.com.  They come in 4 inch by 4 inch squares.  I peeled the protective paper off of each side, then holding it with needle nose pliers I used my heat gun to slightly melt it.

I melted the plastic outside of the helmet until it would flop over all by itself.  Then I put it inside the helmet and used a rag and pushed on the lens to slightly bubble it out.  


This is the first piece (after it was cool enough to hold.)


I taped the lenses in place...


 and couldn't resist trying it on.


Then I had to take a picture outside.  


I peeled the left side of the tape off of the lens and folded it over.  I put some 5 minute epoxy in a large area around the eye, and folded the lens back over.  I held it in place until the epoxy held then I did the other eye.


It is available for sale on Ebay 
Rocketeer Helmet Fan Made Custom Prop 


Friday, January 14, 2011

How to make Tube Coral

I have been asked to make some props that look like a bed of coral for a VBS.  I want it to be kid friendly rather than exactly match.


This is the real thing.


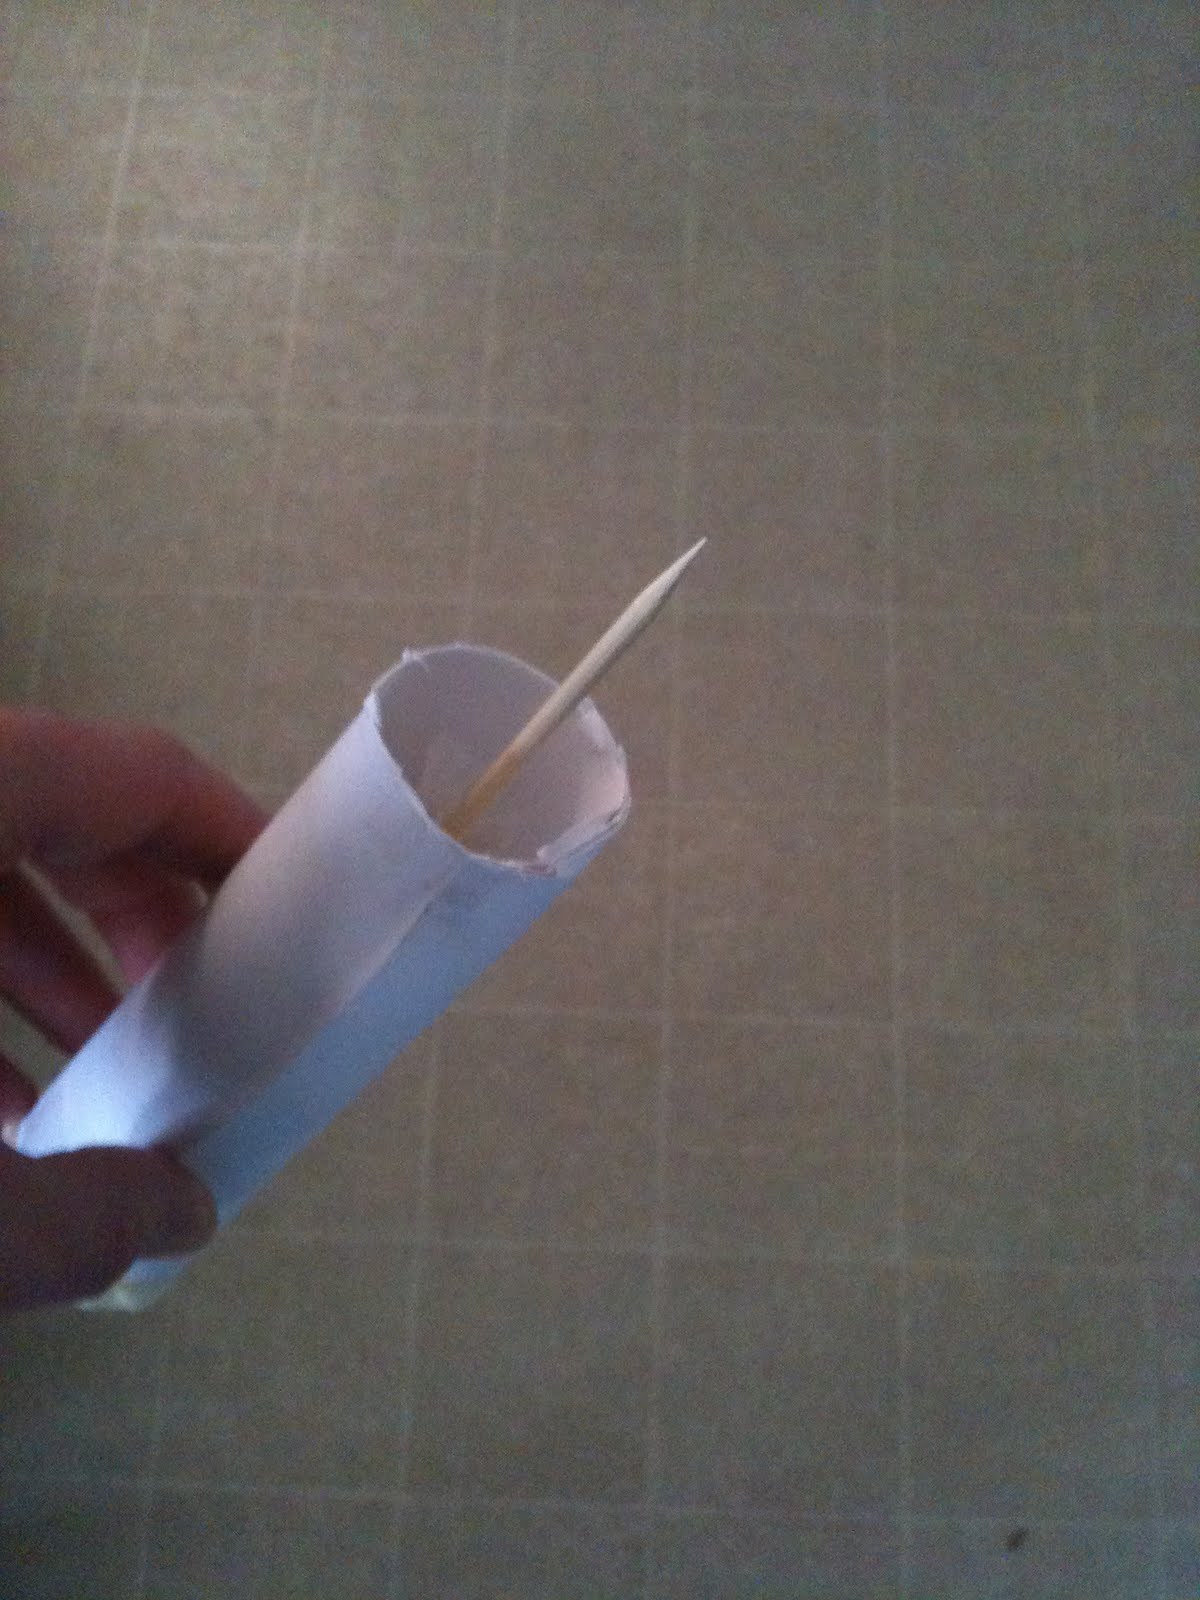
I decided to use some great stuf foam. I started by rolling up a piece of card stock paper and taping it closed.


I put a piece of paper towel in the bottom and pushed it about halfway up the tube so I wouldn't waste the foam.


I filled the tube with about 2 inches of foam. It will expand and come out the top so no need to waste it.   And I found out that if it is colder it doesn't rise as much. 
The foam expanded out of the top of the cardstock tube.  This is what I wanted. because I want to make a ring of coral around the top.


I pushed the top of the foam back inside. I had to wait until the foam was hard enough to touch without getting sticky, but not fully cured.  It takes about 45 minutes or so.  If you wait until the foam is fully cured it doesn't work.


This made the top of the coral.


While I was waiting for the foam to cure, I took a scrap piece of styrofoam. Mostly I use 2 inch foam. You can get a 4x8 sheet of 2 inch foam for around $12-$15 at Home Depot.  It is available at Lowes, but the sheets I found had a silver backing on it, and it was almost twice the price.
I also found that furniture stores have thicker pieces, and they are happy to get rid of it since it fills up their dumpsters. They are not in sheets but they are great if you need a bigger piece, and you can't beat free!  This piece is about 3 inches thick and about 5-6 inches square.


Next I used a heat gun to melt the foam to make it look like a rock.  If you are going to do any type of styrofoam work I would strongly recommend getting a heat gun. You can get them  at a hardware store, usually in the wallpaper dept.  There are other tutorials out there that say to use spray paint.  This will work, but if you don't use the same color spray paint it will show through. Plus it always smells like spray paint.   


This is what it looks like after heating it up.


I pulled the paper towel out of the tube. Most of it came out, but some is stuck to the foam. I also cut off the bottom of the tube because it was a little long.  Now I have about a 5 inch tube.


Then I put a wooden skewer in the bottom. (You can find these usually around the barbecue stuff in the grocery store.)  I broke it off so now it is about 6 inches long.


Then I stuck it into the styrofoam "rock."


I did this several times, and sprayed the great stuff in spirals around the tube and let it dry.
This is the final part.


Next I painted the rock brown.  Then (unpictured. I forgot to take pictures of it until after I was finished.) I painted the coral a purple color.  I just used a brush and some Apple Barrel paint.

I then mixed a little of the purple and some light blue together and just lightly brushed it on, trying to only hit the raised areas.  
Then I mixed a little white with the new blue/purple color and brushed it on a few of the more outstanding areas.


Sunday, June 20, 2010

Western Gatepost

I was asked to make a western gatepost for a Vacation Bible School similar to this.


 I started by making a box out of 1/2 inch styrofoam. 


 I formed it around a 1/2 inch plywood bottom. I cut an 8 foot 1x4 down to 6 1/2 feet.  Then I screwed it to a piece of 2x4 and screwed the 2x4 to the bottom of the plywood.  I put the screw through the bottom of the plywood up into the 2x4 so the point of the screw wouldn't be sticking through the bottom.


Next I cut two 6 inch strips of the 2 inch styrofoam. I hollowed out the inside with the heat knife so they would slide over the 1x4.  

Measured them to make sure I cut out enough.


I used wooden skewers (which you can find in the grilling section of the grocery store) to keep the two pieces together.

Then I distressed it by rounding the edges and making cut marks in it.


I cut grooves to make it look like wood.


 Then I glued the two pieces together using caulk and wooden skewers.  And worked on the other pieces.


  I forgot to take a picture of it, but in the cross beam I hollowed out about a 4 inch section so the 1x4 would slide into it. 

 You can see in this picture where the cross beam will fit on the left column.

Like this.


I cut out a support beam and distressed it like the others.


Then I made it square so it would fit between the crossbeam and the columns.


I secured it to the column with caulk and wooden skewers.  The crossbeam is just resting on the column.


I made sure everything fit.  


Next I started working on the stones.  I cut a piece of 2 inch foam in a size square I needed, then cut that piece into smaller blocks.


I used the heat gun to roughen up the edges and make them look more like rocks.


I did this for all the sides and the tops. 10 large pieces of foam in all. I laid them out in the pattern I wanted and made sure they all fit.


I then marked the back of each one so I knew which pattern they went with.  I also took a picture of each pattern in order so I knew how it was laid out.  This step saved me lots of time later on.


I marked each stone with the color it was to be painted.  This way I could keep the colors from being too close together.


Here it is before the detail painting.


I took the stones and stacked them according to color, and painted them all.  Then I dry brushed a darker color on the grey and sandstone color rocks, and a lighter color on the clay colored ones.


I matched up where they would go and caulked the back side and put them in place. 


This is the final base.  The post slides off of the 1x4 and it can be transported and set up anywhere.


I painted the posts and crossbeam with a wood brown color and the cutout parts with a dark brown.  I dry brushed the same dark color on the distressed parts of the wood also.


This is the final product.